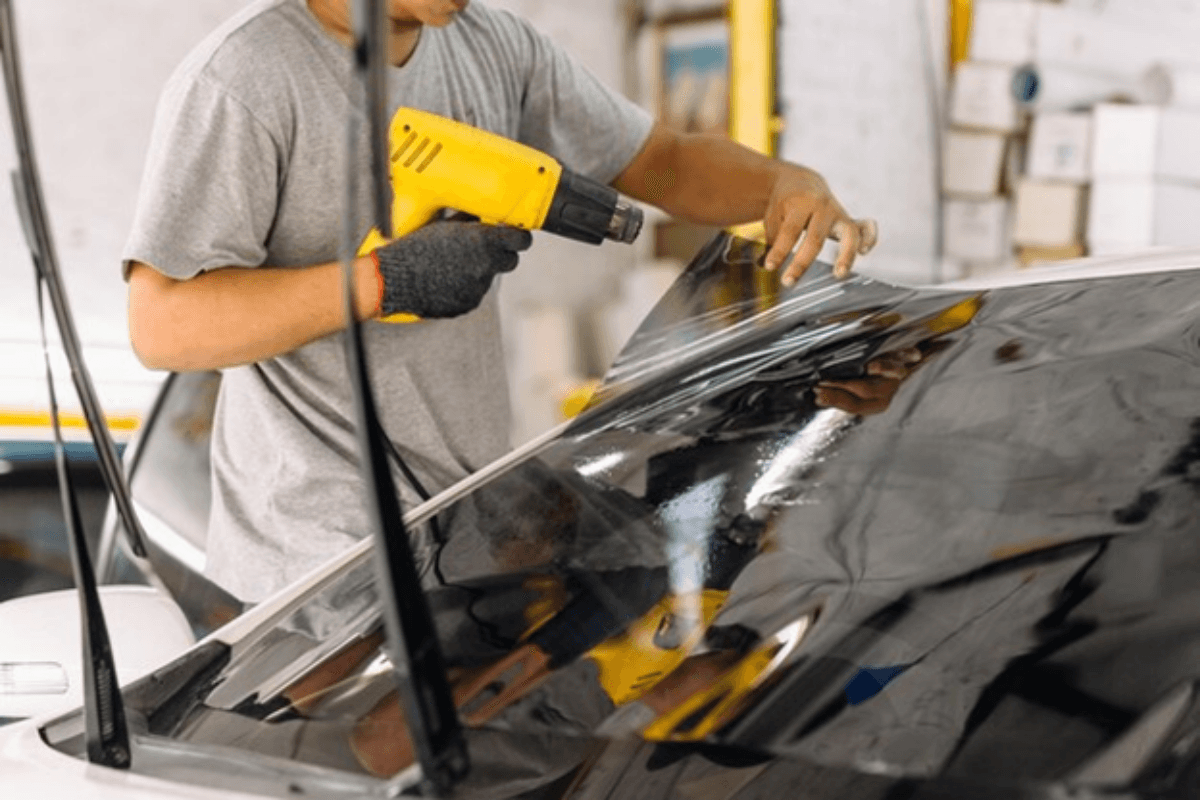
Window Tinting – Thinking about getting your car windows tinted but not sure where to start? You’re not alone! For first-time buyers, the idea of tinting can seem confusing with so many options and steps involved.

But don’t worry—getting your car windows tinted doesn’t have to be difficult. It can be a fun way to add both style and comfort to your ride.
This step-by-step guide will walk you through the entire process, from understanding the different types of tints to deciding whether to DIY or hire a professional.
Let’s get started on making your car look cooler (literally and figuratively)!
What is Car Window Tinting?
Car window tinting involves applying a thin laminate film to the glass of your vehicle. This film reduces the amount of visible light, infrared, and UV radiation entering your car, providing numerous benefits.
Now, let’s dive into the process of getting your car windows tinted.
Step 1: Research Local Tinting Laws
Before you even begin selecting a tint, it’s essential to research your local tinting laws. Different regions have specific regulations about how dark your window tints can be. The laws usually vary by state, so ensure you’re familiar with the maximum allowable Visible Light Transmission (VLT) percentage for both the front and rear windows.
How to Check Your Local Laws?
- Visit your state’s Department of Motor Vehicles (DMV) website.
- Search for car tinting laws or regulations.
- Ensure your chosen tint complies with these legal limits to avoid fines.
Step 2: Choose the Right Type of Tint
Car window tints come in a variety of materials and finishes. Selecting the right one can seem daunting, but here are the most common types:
Types of Window Tints
- Dyed Film: Provides a non-reflective finish and is the most affordable option, though it may fade over time.
- Metalized Film: Offers better heat reduction and durability, but can interfere with electronics and cell signals.
- Ceramic Film: The premium option, ceramic tints offer excellent UV protection, do not fade, and won’t interfere with electronics.
Consider factors while choosing the Window Tinting Perth such as budget, durability, and whether you want UV protection when making your decision.
Step 3: Decide Whether to DIY or Hire a Professional
Tinting your windows can be a DIY project, but it’s important to evaluate whether you have the right tools, experience, and patience for it. However, Westside Auto Service can help you do so. Let’s read the pros for the same.
Pros of Hiring a Professional:
- Experience ensures a perfect finish without bubbles.
- Access to better materials.
- Warranties on the tint.
Pros of DIY:
- Cost-effective if you have the right skills.
- Offers a sense of accomplishment.
Step 4: Prepare Your Car for Tinting
If you’ve decided to hire a professional, they will handle the preparation for you. However, if you’re going the DIY route, proper preparation is key to achieving a flawless result.
How to Prepare Your Car?
- Clean the Windows: Wash the inside and outside of your windows thoroughly using a glass cleaner.
- Remove Dust and Dirt: Any tiny particles can result in a poor application.
- Check the Weather: Ensure that the environment is dust-free, and choose a day with mild weather for better results.
Step 5: The Application Process
Whether you do it yourself or hire a professional, the tinting process follows a few key steps.
For Professionals:
- They will cut the tint to the exact size of your windows.
- The tint is applied using water and a squeegee to remove bubbles.
- Edges are carefully trimmed to match the window shape.
For DIY:
- Measure and Cut: Using a sharp blade, cut the tint to slightly larger than your window size.
- Wet the Window: Spray water or a special solution onto the inside of the window.
- Apply the Tint: Place the tint on the window, starting from one edge, and use a squeegee to press it down, working out any air bubbles.
- Trim the Excess: Once the film is smooth, trim any excess along the edges of the window.
Step 6: Allow for Drying Time
After the tint is applied, you must allow adequate drying time. Depending on the type of tint used and weather conditions, this can take between 24 hours and a few days.
Drying Tips:
- Keep the windows up for at least 48 hours.
- Avoid washing the windows for a week.
- Ensure the car is parked in a clean, dust-free area.
Step 7: Care and Maintenance After Tinting
Once the tint is fully dry, maintaining it properly will ensure it lasts longer.
Maintenance Tips:
- Use a Soft Cloth: Clean your windows with a soft microfiber cloth to avoid scratching the film.
- Use Non-Ammonia Cleaners: Ammonia-based cleaners can cause the tint to peel or discolor over time.
- Be Careful with Scrapers: Never use hard or sharp objects on the tinted windows.
Conclusion
Tinting your car windows might seem like a big task, but with the right steps, it’s a smooth process. Start by researching local tinting laws, choose the right type of tint for your needs, and decide whether you want to DIY or hire a professional. After that, prepare your car, apply the tint, allow it to dry properly, and take care of it to ensure it lasts. By following these steps, you’ll have your car looking stylish, staying cool, and getting the privacy you want.
